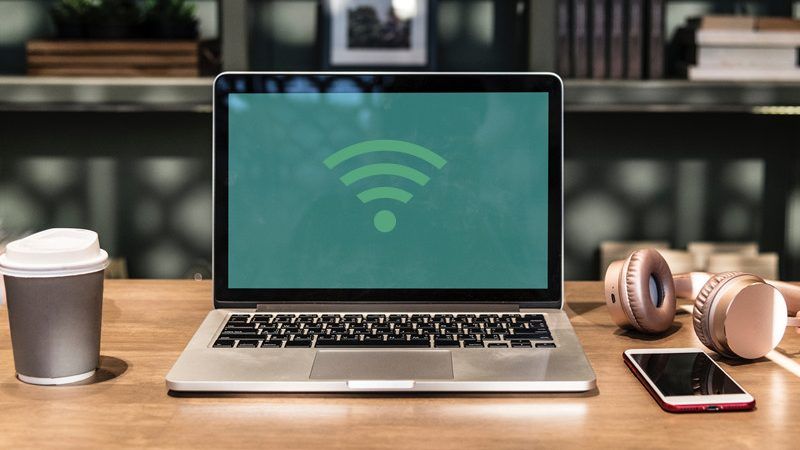
When you want a wi-fi web connection in your Windows 11 laptop, you need to most likely connect with Wi-Fi.Here are two approaches to connecting to a WiFi community.
How to Use Quick Settings to Connect to Wi-Fi.
The fast settings menu is the quickest means to hook up with Wi-Fi in Windows 11.To start, go to the far proper nook of the Windows taskbar and click on the Quick Settings button. It’s a button that’s hidden beneath the Wi-Fi and sound quantity icons.The Quick Settings menu shall be displayed. To start, make sure that Wi-Fi is turned on by clicking the left half of the Wi-Fi button, which has radiating ripples on it. Wi-Fi is enabled when it’s illuminated (slightly than pale). Then, on the proper half of the Wi-Fi button, click on the arrow. RELATED: How To Delete My Instagram Account In 2022You’ll see an inventory of Wi-Fi networks which might be obtainable. Select the one to which you need to join.The community entry will broaden, and a “Connect” button will seem. Put a checkmark within the field subsequent to “Connect Automatically” if you’d like Windows to hook up with this community robotically sooner or later. After you’ve made your choice, click on “Connect.”If the Wi-Fi entry level is password-protected, a textual content field labeled “Enter password” will seem. Enter the password in your Wi-Fi community within the field and click on “Next.”As Windows connects to the Wi-Fi community, you’ll see a “Verifying and Connecting” message. When you’re linked, you’ll see the message “Connected.” Close the Quick Settings menu by clicking outdoors of it, and also you’re prepared to make use of the community.
How to Use Wi-Fi Settings to Connect to a Network
If you favor to hook up with Wi-Fi by the settings in Windows 11, begin by urgent the Windows button in your keyboard. Alternatively, you’ll be able to right-click the Start button and select “Settings.”When the settings open, go to the sidebar and choose “Network & Internet,” then “Wi-Fi.”RELATED: How to Get All Your Work Done QuicklyTurn the change subsequent to “Wi-Fi” to “On.” Next, click on to enlarge the “Show Available Networks” part, after which choose the identify of the community you need to connect with from the record.After choosing the Wi-Fi community identify, enter the safety key (password) if required, after which click on “Next.”If you typed within the appropriate password, you’ll have the ability to connect with the community. To disconnect later, click on the “Disconnect” button within the record beneath the community’s identify.READ NEXT
Denial of responsibility! pt4ublog.com is an automatic aggregator around the
global media. All the content are available free on Internet. We have just
arranged it in one platform for educational purpose only. In each content,
the hyperlink to the primary source is specified. All trademarks belong to
their rightful owners, all materials to their authors. If you are the owner
of the content and do not want us to publish your materials on our website,
please contact us by email – [email protected].. The content will be deleted within 24 hours.